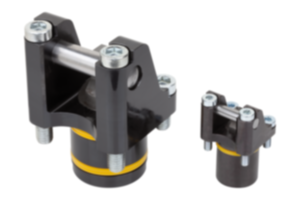
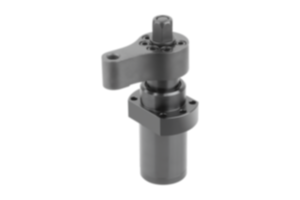
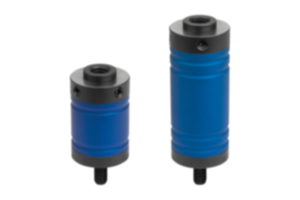
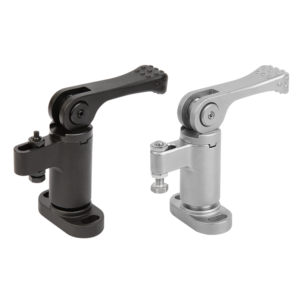
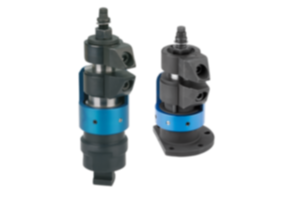
Material
Base body and jaws steel.
Housing aluminum.
Housing aluminum.
Version
Body nitrided, black oxidized and ground.
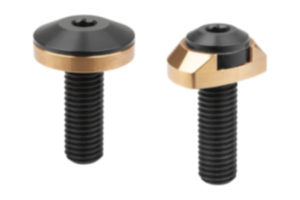
Jaws nitrided and black oxidized.
Housing red anodized.
Jaws nitrided and black oxidized.
Housing red anodized.
Show more
Show less
Description
Material
Base body and jaws steel.
Housing aluminum.
Housing aluminum.
Version
Body nitrided, black oxidized and ground.
Jaws nitrided and black oxidized.
Housing red anodized.
Jaws nitrided and black oxidized.
Housing red anodized.
Note
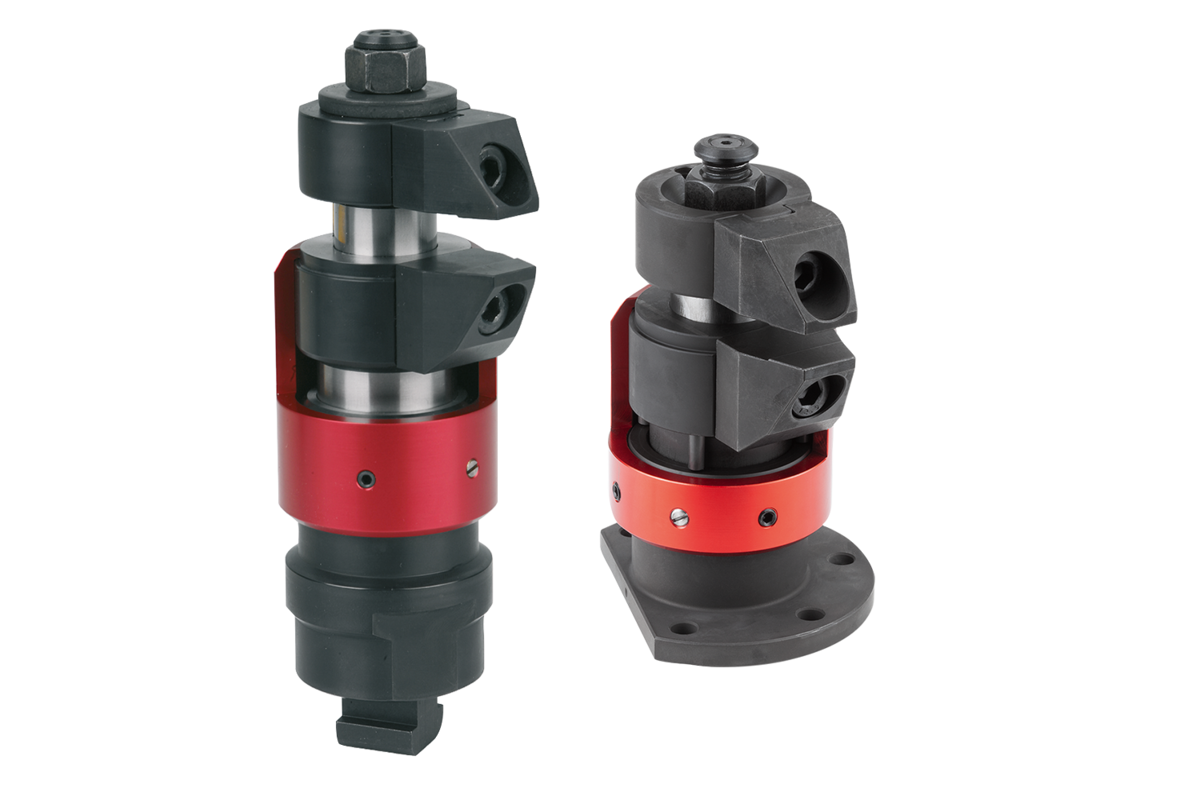
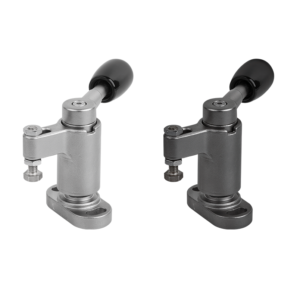
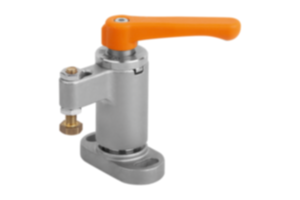
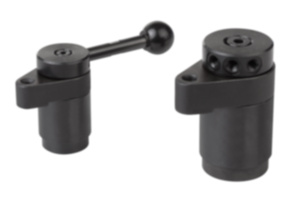
The floating clamp is used to clamp and support overhanging clamping points on components. It prevents vibrations and deflection during machining.
Method of operation
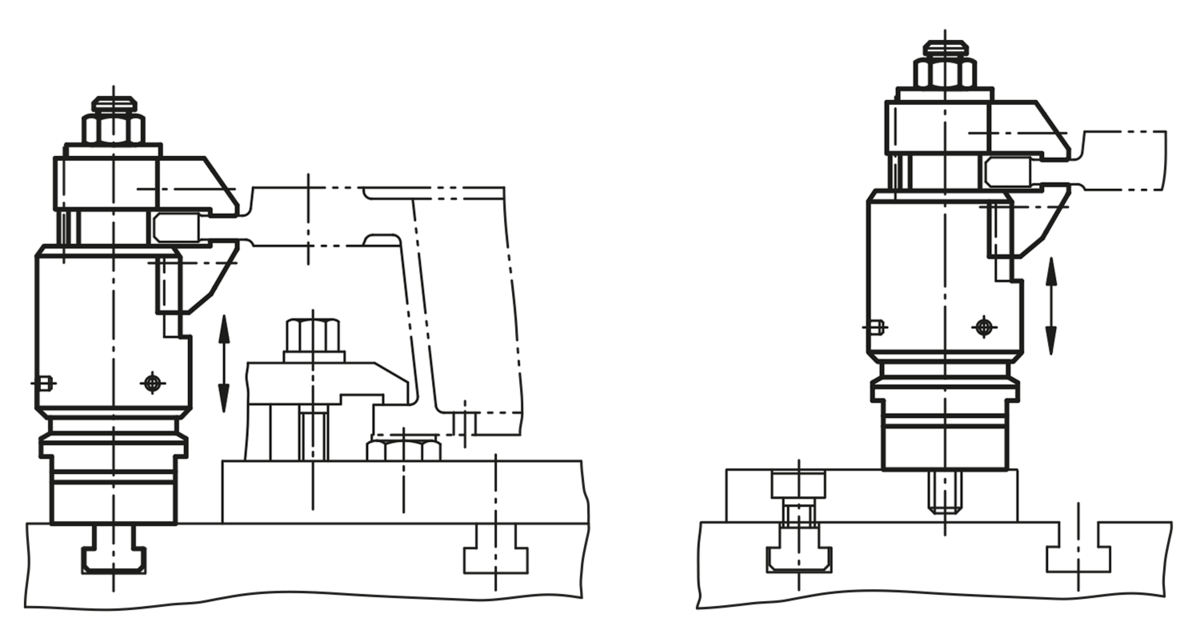
1. Push the floating clamp down.
2. Pivot the jaws to the stop. The floating clamp contacts the bottom of the workpiece with a light spring force.
3. Tighten the floating clamp with the SW 18 hexagon nut (note the min. and max. torque). During clamping the workpiece is clamped and simultaneously supported.
4. Reverse the process to release.
Assembly
style A:
Fasten the floating clamp to the fixture with the M12 screw.
Adjust the height stop and swivel range using the red body and lock with the 3x2.5 mm grub screws. When setting the height leave generous clearance above.
For safe operation the M12 tapped hole must always be closed.
For specific clamping applications the standard jaws can be altered or replaced.
style B:
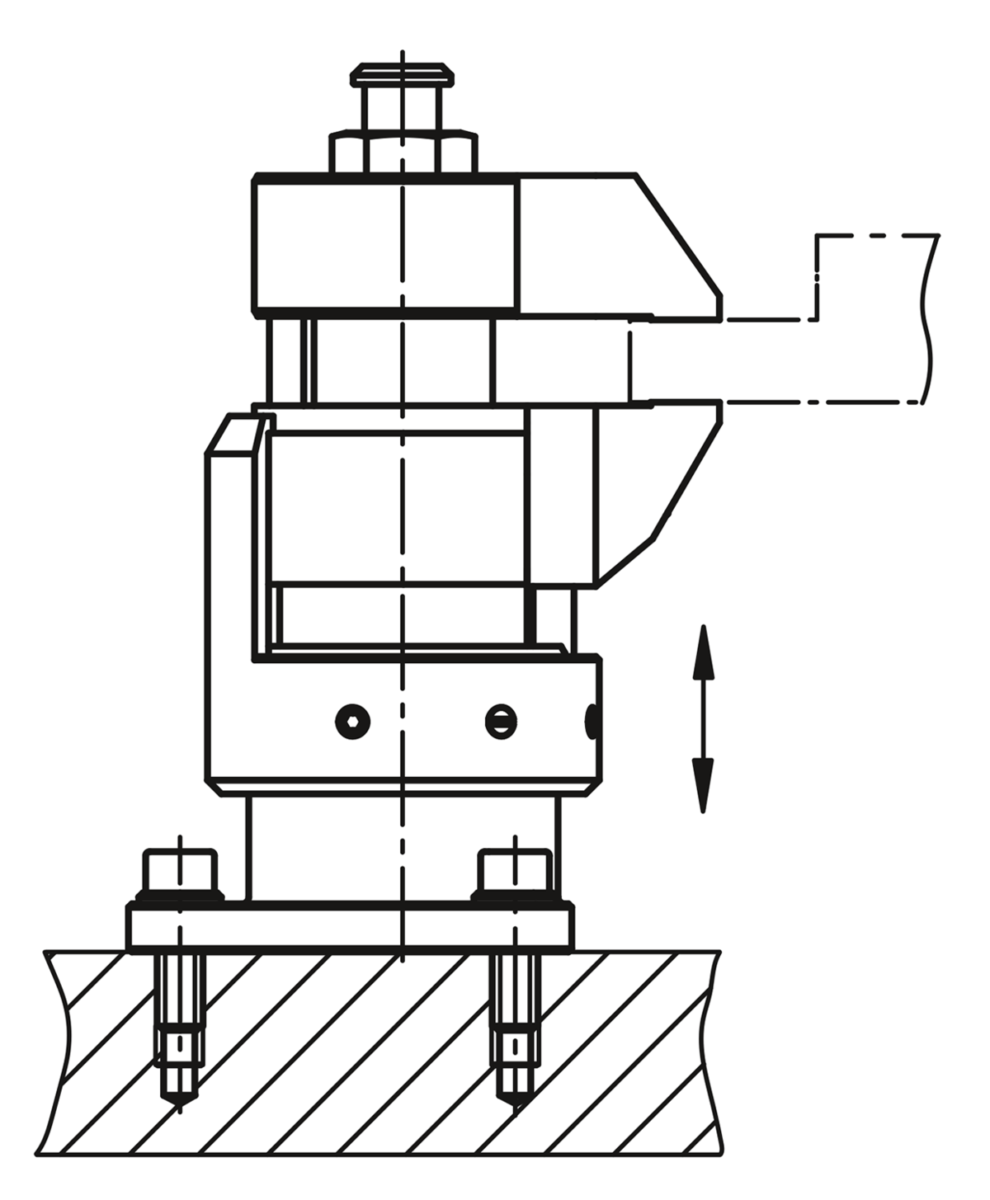
Fasten floating clamp with M6 fastening hole to a fixture.
Adjust the height stop and pivot range with the red adjusting body and clamp with grub screws (4x AF 2.5). When setting the height limit, allow ample play at the top.
For specific clamping situations, the standard jaw plates can be modified or replaced.
Important note on downloading CAD models
In order to download our CAD models, you must log in first. If you have not created an account yet, please register under "My Account" (right side of the screen) and follow the instructions.
